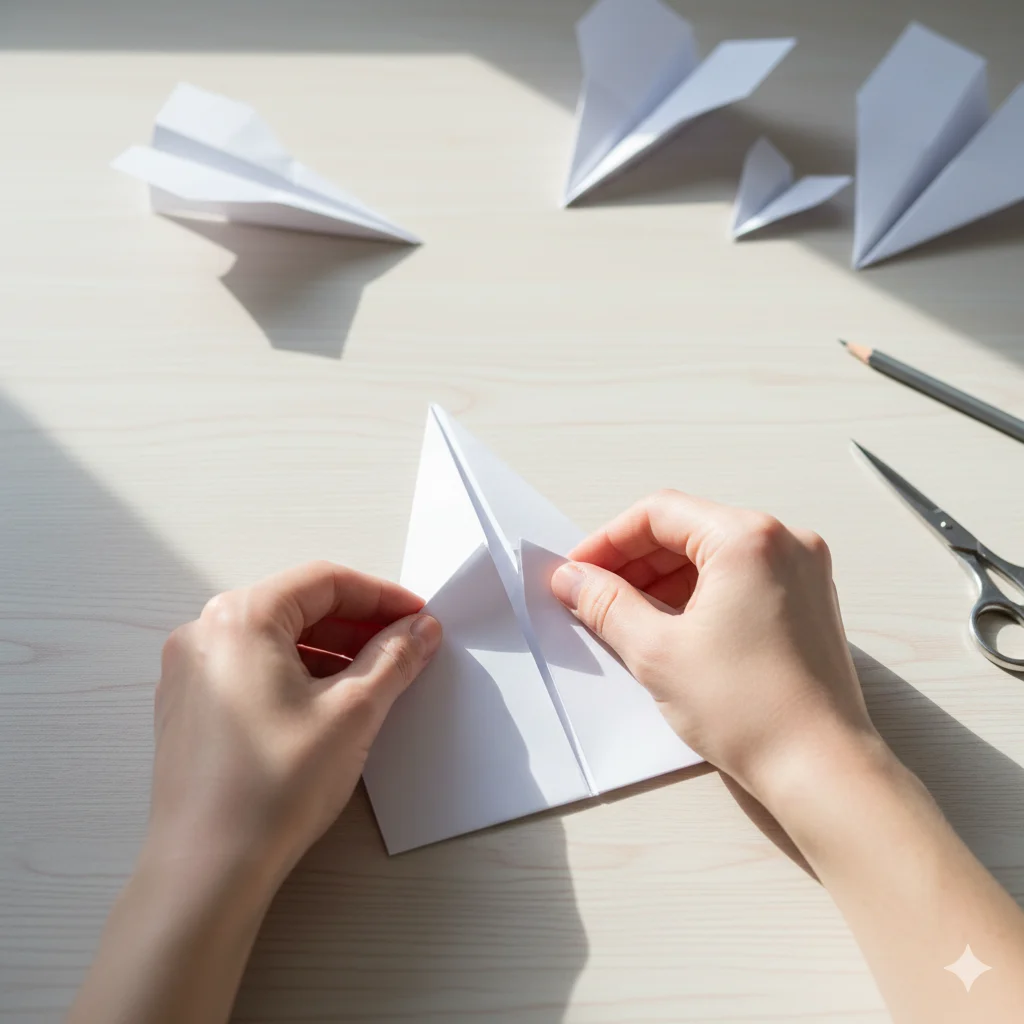
Making a paper airplane is a simple yet timeless activity that combines creativity, physics, and a touch of nostalgia. Whether you’re entertaining kids, competing in a distance throw, or just killing time at your desk, learning how to make a paper airplane is both fun and rewarding.
In this complete tutorial, you’ll discover step-by-step instructions, pro tips to make your plane fly farther, and troubleshooting advice for common folding mistakes. Grab a sheet of paper, clear a small space, and let’s start folding your way to flight!
Step 1: Choose the Right Paper
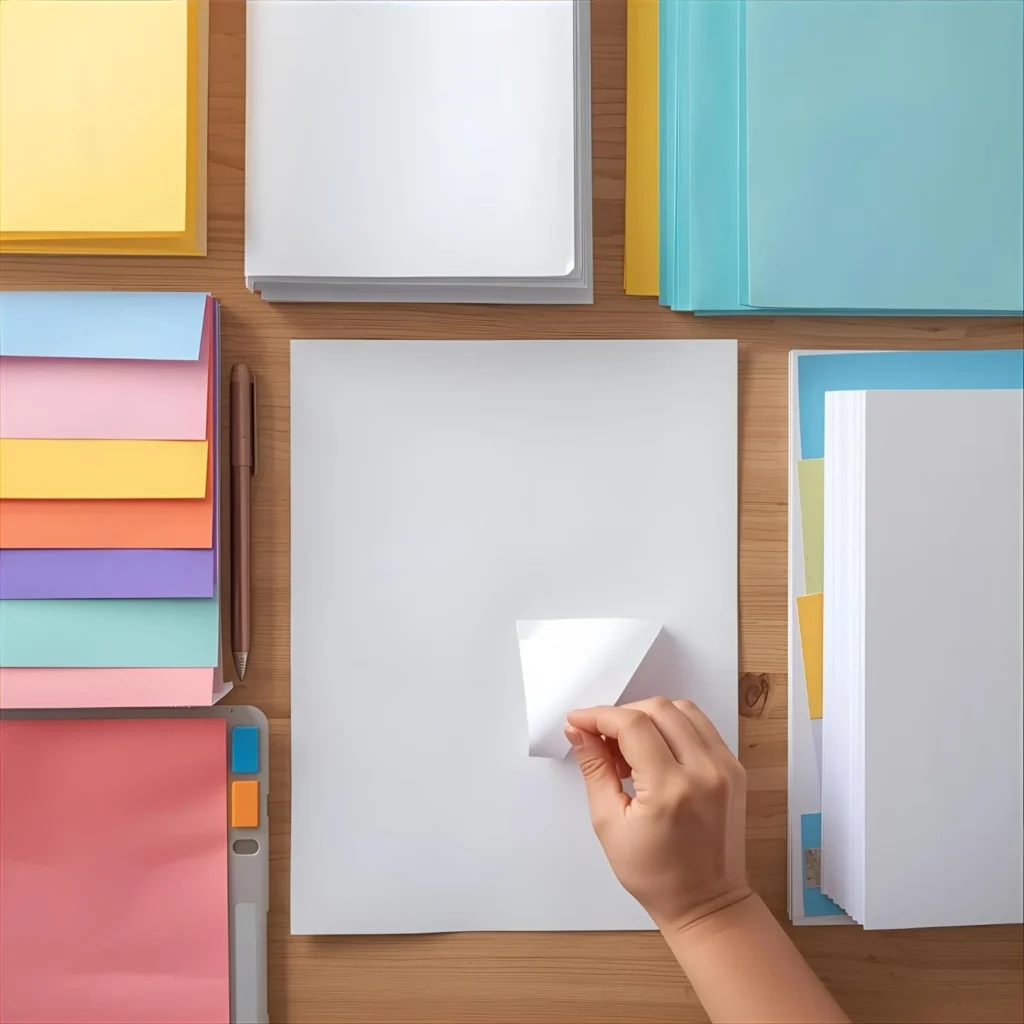
The first step in making a paper airplane is choosing the right material. Standard 8.5” x 11” printer paper works perfectly, but you can experiment with different weights and textures.
Tips for best results:
- Use a smooth, lightweight sheet (around 70–90 GSM).
- Avoid glossy or thick cardstock — it makes folds harder.
- Make sure the paper is perfectly rectangular and not crumpled.
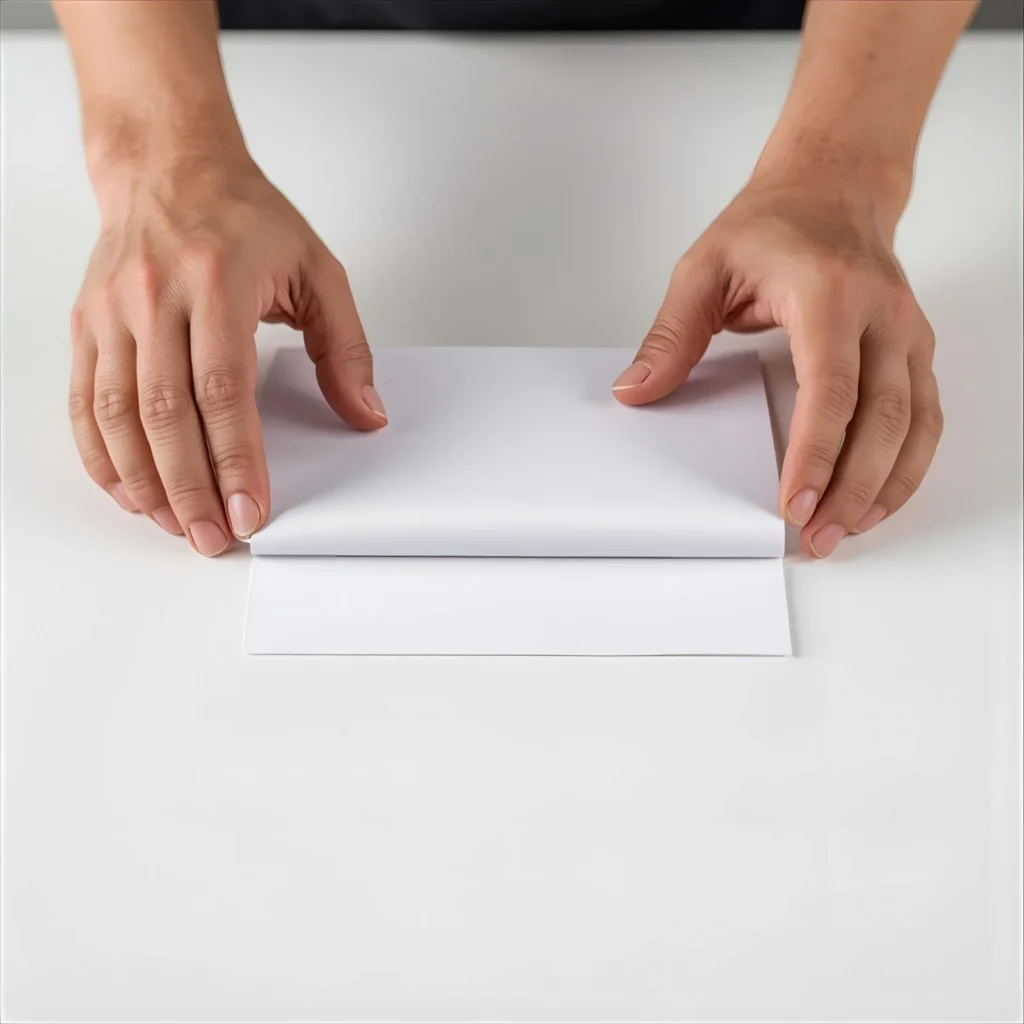
Step 2: Fold the Paper in Half Vertically
Lay the paper flat on a table, then fold it lengthwise so the long edges meet perfectly. Crease sharply, then unfold.
This fold marks the center line, helping you keep both sides symmetrical — which is crucial for balanced flight. If the fold is misaligned, the airplane will veer to one side.
Pro Tip: Run your fingernail or the edge of a ruler along each crease for a crisp, aerodynamic edge.
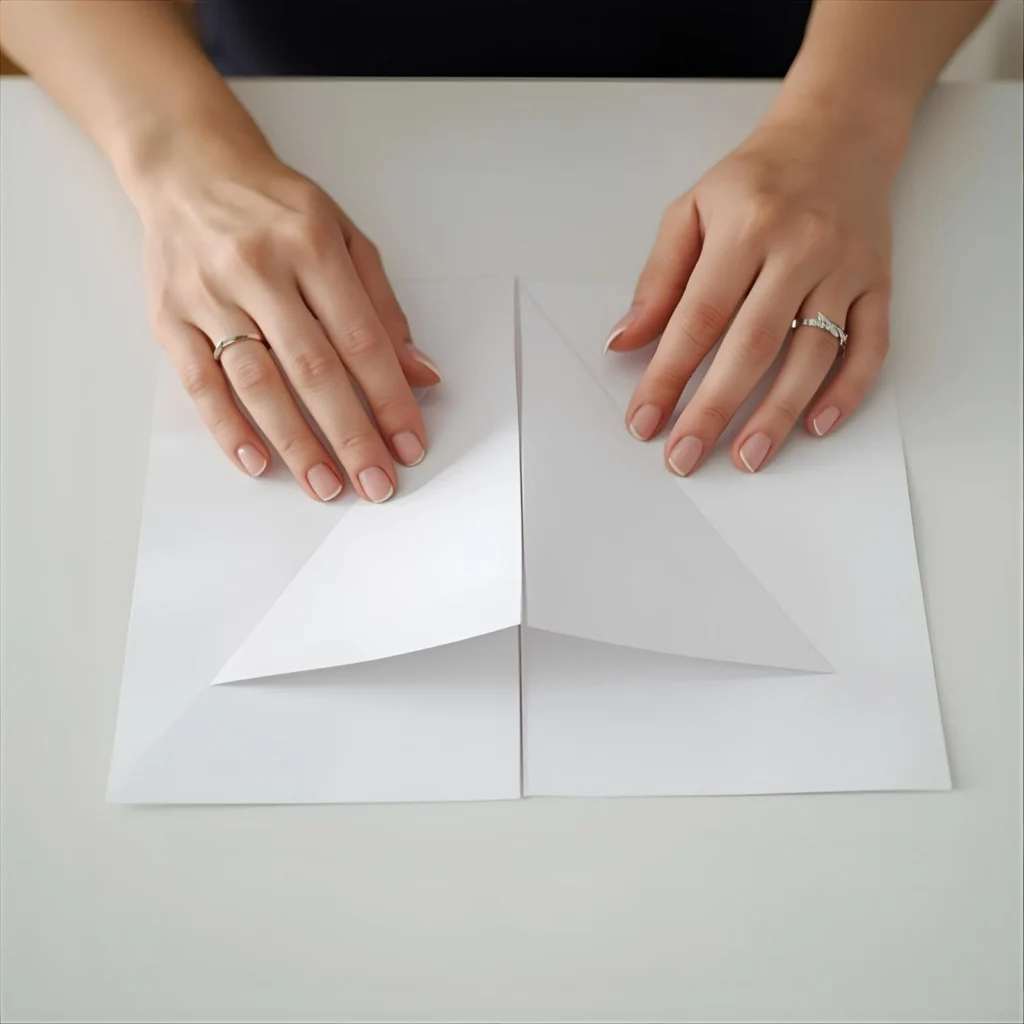
Step 3: Fold the Top Corners to the Center
Next, take the top-right corner and fold it inward so it touches the center crease. Repeat with the top-left corner.
The result should look like a triangle at the top of the page — forming the plane’s nose. The sharper and cleaner your folds, the more efficiently your paper airplane will cut through the air.
Step 4: Fold the Peak Down
Take the tip (the top point where the two corners meet) and fold it downward so the tip touches about one inch above the paper’s bottom edge.
This creates a solid base that helps maintain the plane’s structure and prevents it from diving downward during flight.
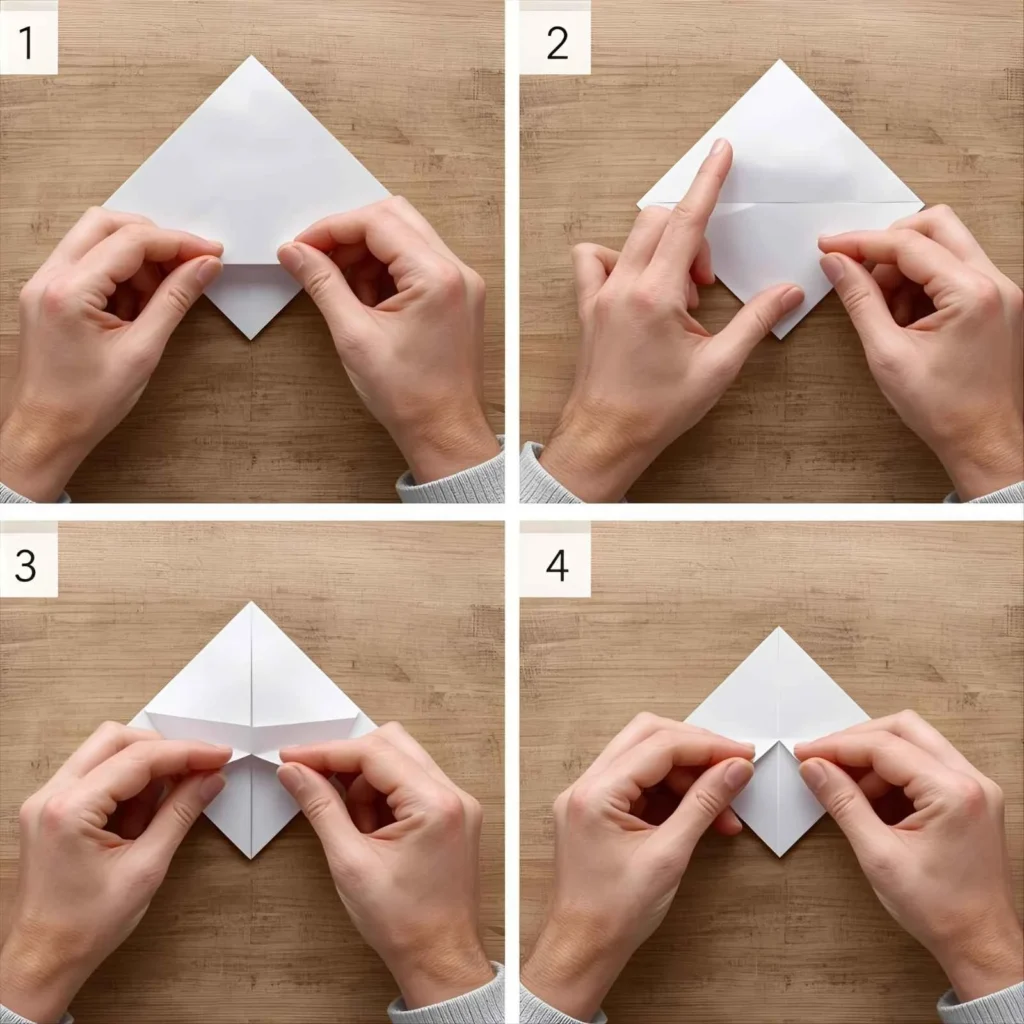
Step 5: Fold the Top Corners Again
Fold both top corners inward once more toward the center line, leaving a small triangle visible underneath. The folds should meet at the middle.
This step reinforces the nose of your paper airplane, making it heavier at the front — a key factor in stable flight.
Step 6: Fold the Small Triangle Up
Fold the small triangle (left from Step 4) upward over the two corner flaps to lock them in place.
This small but crucial step secures the plane’s front section and prevents it from unfolding mid-flight.
Step 7: Fold the Paper in Half Again
Fold the plane along the original center crease, this time bringing the nose outward and keeping your previous folds on the outside.
Make sure the edges align perfectly. This forms the body of your paper airplane and ensures even weight distribution on both wings.
Step 8: Create the Wings
Fold down one side so the top edge aligns with the bottom of the plane’s body. Flip it over and repeat for the other wing.
Now you have your basic airplane shape! Each wing should be symmetrical for balanced lift.
Optional: Slightly angle the rear edges of the wings upward (called elevators) to help the plane glide farther and slower.
Pro Tips to Make Your Paper Airplane Fly Farther
Want to go from beginner to paper pilot? Try these expert tips:
- Use precision: Even a millimeter of misalignment can throw off flight balance.
- Add weight: Tape or a small paperclip near the nose improves flight distance.
- Experiment: Try different paper types (construction, notebook, recycled).
- Adjust the wings: Bend the tips slightly up for gliding or down for loops.
- Throw technique: A gentle, level toss works better than a strong flick.
- Test indoors first: Avoid wind — it affects lighter models significantly.
Troubleshooting: When Things Don’t Work as Expected
Even the best pilots experience a crash or two. Here’s how to fix common paper airplane issues:
Issue 1: Plane dives too quickly
→ Fix: Slightly bend the back of the wings upward to add lift.
Issue 2: Plane turns left or right
→ Fix: One wing is likely uneven. Re-fold or trim to make both sides symmetrical.
Issue 3: Plane won’t fly far
→ Fix: Add a small weight (like a paperclip) to the nose for stability.
Issue 4: Wings keep unfolding
→ Fix: Reinforce folds with firm creases or a small piece of tape.
Issue 5: Plane flips or stalls mid-air
→ Fix: Reduce the upward wing angle — it’s catching too much air.
Conclusion
Now that you know how to make a paper airplane, you can turn any spare sheet into a soaring creation. With a few simple folds, you’ll learn the basics of aerodynamics and enjoy the thrill of flight — right from your desk or living room.
So grab a paper, perfect your folds, and start flying today. The sky’s the limit — literally!
Frequently Asked Questions (FAQ)
1. What type of paper works best for making a paper airplane?
Regular A4 or letter-size printer paper (70–90 GSM) is ideal. It’s light enough for flight but strong enough to hold sharp folds.
2. How can I make my paper airplane fly farther?
Ensure your folds are symmetrical, add a small paperclip to the nose, and throw with a smooth, level motion rather than excessive force.
3. Why does my paper airplane spin or loop?
Uneven folds or unbalanced wings cause instability. Flatten or re-crease the wings until both sides match.
4. Can I make different types of paper airplanes?
Yes! Try the dart design for distance or the glider design for long, slow flights. There are dozens of creative variations online.
5. What’s the best way to store paper airplanes?
Keep them flat or in a folder to maintain sharp folds and prevent wrinkles. Avoid moisture and direct sunlight.
6. Can kids make paper airplanes safely?
Absolutely — it’s a fun, screen-free activity for all ages. Just supervise young children to avoid paper cuts.
Written by: A DIY craft enthusiast and hobbyist with 10+ years of experience in teaching simple paper folding projects for kids and adults.