Screen recording on your iPhone is a powerful tool that allows you to capture everything on your device’s screen. Whether you want to record tutorials, gameplay, video calls, app demonstrations, or social media content, knowing how to screen record on iPhone ensures you can preserve and share information easily.
This guide walks you through all iPhone models, including the latest iOS versions, step-by-step instructions, troubleshooting, audio options, editing tips, and advanced settings. By the end, you’ll be able to create high-quality recordings for work, education, or personal use.
What is iPhone Screen Recording?
Screen recording captures everything displayed on your iPhone in real-time. Unlike screenshots, which capture a single image, screen recording creates a video file showing every interaction, swipe, tap, and notification (unless Do Not Disturb is enabled).
Key features include:
- Video recording of apps, games, and tutorials
- Audio recording from your microphone or internal system sounds
- Editing capabilities such as trimming and cropping within the Photos app
Mini Example:
Sarah wanted to record a video tutorial for her online class. Using iPhone screen recording with microphone audio, she could narrate while demonstrating steps.
Why Screen Recording on iPhone is Useful
Screen recording isn’t just a convenience—it offers practical benefits for multiple scenarios:
- Educational Purposes: Record online lectures, tutorial apps, and learning content for review.
- Professional Use: Capture software demonstrations, app functionality, or troubleshooting sessions for colleagues.
- Content Creation: Share gameplay, social media tips, or creative tutorials with audiences.
- Documentation: Capture bugs, glitches, or errors for support and reporting purposes.
- Personal Reference: Save video calls or instructions that you want to revisit later.
Pro Tip: Screen recording preserves the exact sequence of actions, making explanations clearer and more reliable than written instructions alone.
Preparing Your iPhone for Screen Recording
Before you start, ensure your iPhone is properly set up for optimal results:
- Check Your iOS Version: Screen recording is available on iOS 11 and later. Update if necessary.
- Enable Screen Recording in Control Center:
- Go to Settings → Control Center → Customize Controls.
- Add Screen Recording to your Control Center for quick access.
- Free Up Storage: Long recordings can consume significant space. Make sure your device has ample free storage.
- Decide on Audio Options: Determine if you want to record microphone audio, system audio, or both.
- Activate Do Not Disturb: Prevent notifications or calls from appearing in your recordings.
Mini Example:
James enabled Do Not Disturb before recording his app walkthrough to avoid interruptions from notifications.
Step-by-Step Guide to Screen Recording on iPhone
Here’s how to start recording your iPhone screen efficiently:
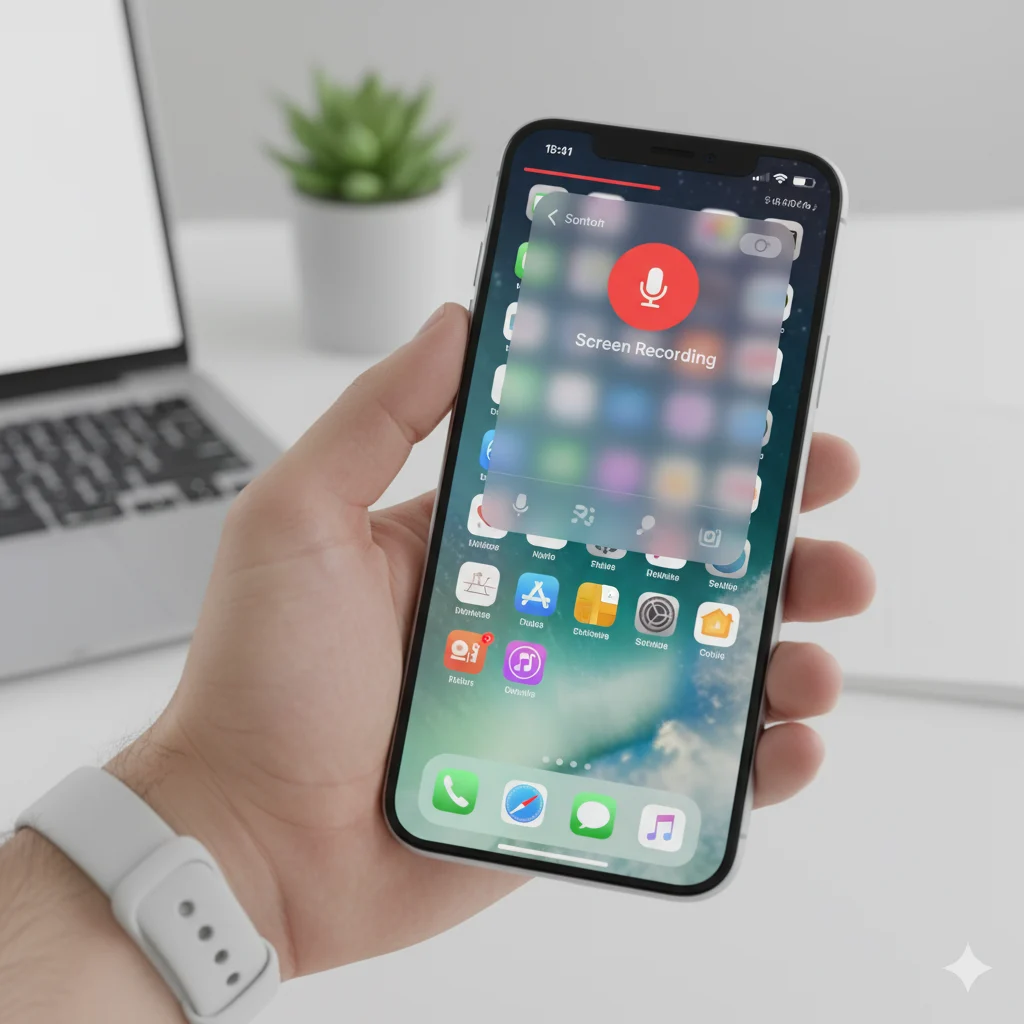
1. Open the Control Center
- iPhone X and later: Swipe down from the top-right corner.
- iPhone 8 and earlier: Swipe up from the bottom of the screen.
This gives you quick access to the Screen Recording button.
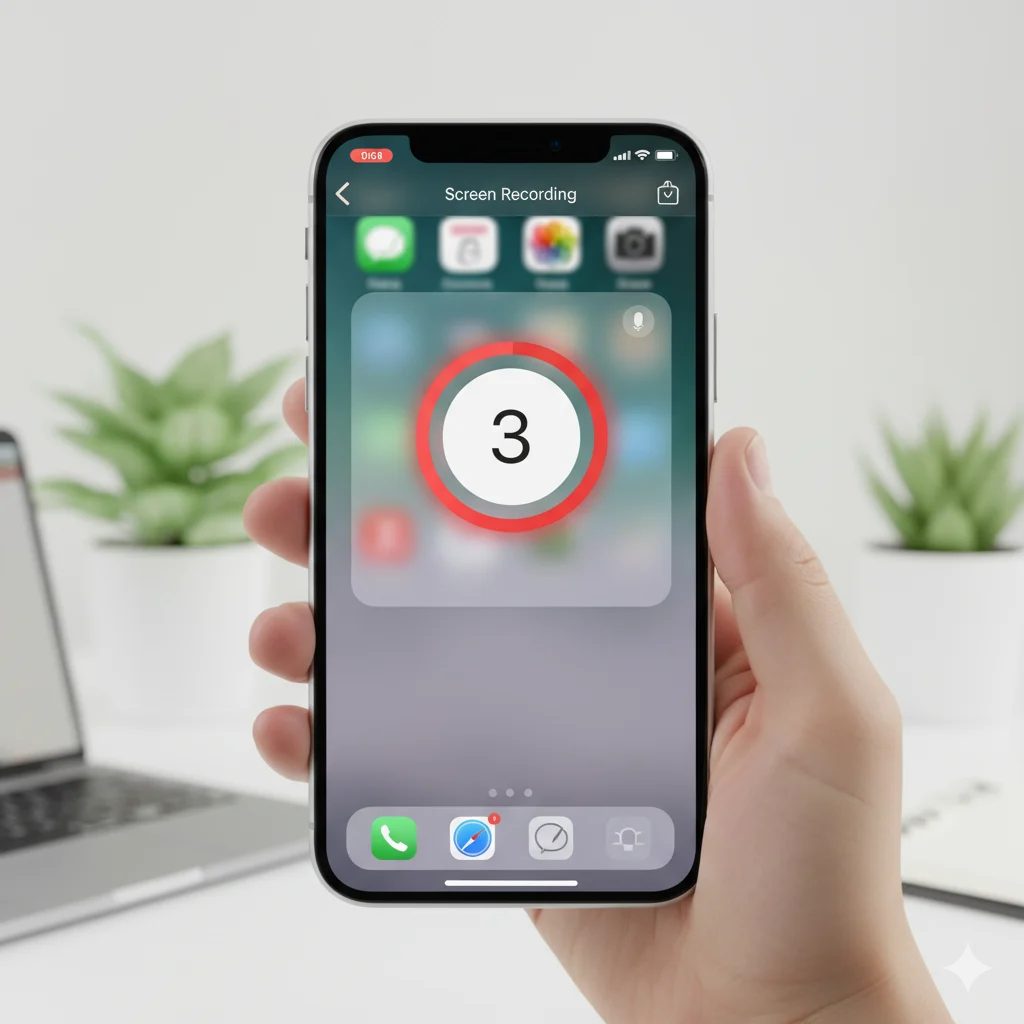
2. Start Recording
- Tap the Screen Recording icon (circle within a circle).
- A 3-second countdown appears.
- The status bar or a red recording icon indicates the recording is active.
3. Enable Microphone Audio (Optional)

- Press and hold the Screen Recording icon before starting.
- Tap the Microphone Audio icon to enable narration.
Pro Tip: Enable microphone audio only if you want to add commentary or instructions. This reduces unnecessary background noise.
4. Stop the Recording
- Tap the red status bar at the top of the screen.
- Select Stop.
- The video is automatically saved to your Photos app.
Mini Example:
Olivia recorded her gameplay session with microphone audio, then stopped it by tapping the red bar when done. Her video was saved instantly.
5. Edit Your Screen Recording
After recording, you can:
- Trim the start or end of the video in Photos.
- Adjust volume or mute audio if needed.
- Add captions or annotations using third-party editing apps for tutorials.
Advanced Tips for High-Quality Recordings
- Enable Do Not Disturb: Avoid interruptions and notification pop-ups.
- Use a Stand or Stabilizer: Keep your iPhone steady for smoother video.
- Choose the Right Orientation: Landscape is ideal for apps or games; portrait works for social media content.
- Use External Microphone: For clearer narration or professional-quality audio.
- Adjust Video Settings: Reduce brightness or resolution if you want smaller file sizes.
Common Issues and How to Fix Them
| Problem | Cause | Solution |
|---|---|---|
| Recording doesn’t start | Not added to Control Center | Add via Settings → Control Center → Customize Controls |
| No audio | Microphone not enabled | Hold Screen Recording icon → enable Microphone Audio |
| Recording stops unexpectedly | Low storage or iOS bug | Free up storage → restart device |
| Video is blurry or laggy | Device performance + high resolution | Close background apps → lower brightness |
| Certain apps cannot be recorded | Privacy/copyright restrictions | Some apps block screen recording (e.g., Netflix) |
Screen Recording Across iPhone Models
- iPhone 12, 13, 14, 15, and Pro models: Swipe down from top-right corner. Supports HD and 4K recordings.
- iPhone 8, SE, and older: Swipe up from bottom. Quality may vary depending on storage and iOS version.
Pro Tip: Always test a short 10-second recording first to ensure settings are correct.
Managing Storage for Screen Recordings
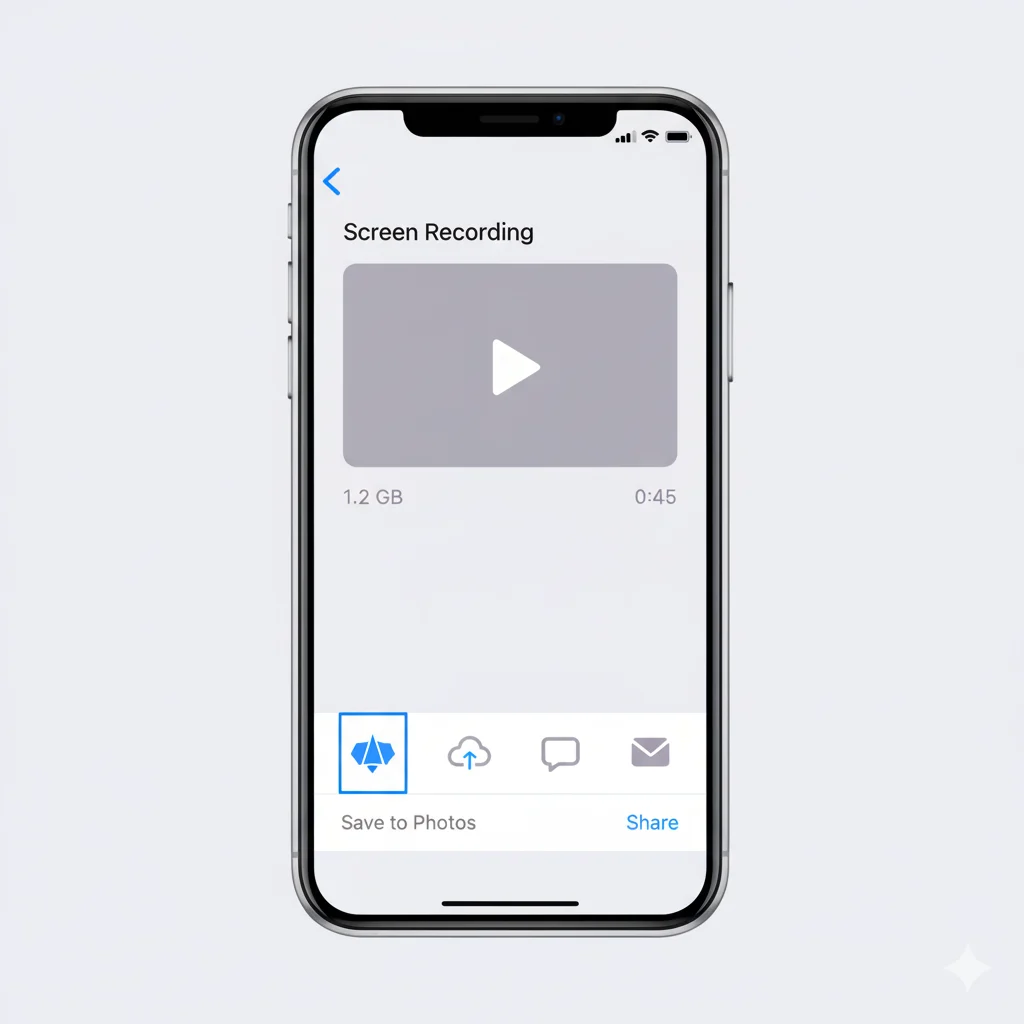
- Screen recordings can occupy large amounts of storage, especially long videos.
- Delete unnecessary videos regularly.
- Back up important recordings to iCloud or external storage.
- Compress files if sharing online to reduce file size.
Mini Example:
Lucas recorded a 20-minute tutorial and found it was over 1 GB in size. Compressing the video helped him email it easily.
Common Mistakes to Avoid
- Ignoring Microphone Settings: Leads to silent recordings.
- Not Enabling Do Not Disturb: Interruptions can ruin your video.
- Recording in Poor Lighting: Reduces video clarity.
- Neglecting Storage: Recording can stop mid-session if storage runs out.
- Recording Restricted Apps: Some apps disable screen recording due to copyright or privacy.
FAQs About Screen Recording on iPhone
Q1: Can I record FaceTime calls?
A: Yes, but always ask for permission. Some privacy laws apply.
Q2: Why is my recording silent?
A: Microphone audio may not be enabled. Hold the icon and toggle it on.
Q3: How long can I record?
A: No time limit; constrained only by storage and battery.
Q4: Can I record system audio without microphone?
A: Yes, but some apps block internal audio.
Q5: Does screen recording affect performance?
A: Older devices may experience minor lag. Closing background apps helps.
Q6: How can I share recordings?
A: Use Photos app, AirDrop, email, or cloud services like iCloud.
Q7: Can I record tutorials for social media?
A: Yes, use portrait for Instagram Stories and landscape for YouTube or presentations.
Final Thoughts
Screen recording on iPhone is an essential skill for content creators, students, professionals, and casual users. By preparing your device, enabling microphone audio when needed, managing storage, and following editing tips, you can produce high-quality recordings effortlessly.
Whether you’re capturing tutorials, gameplay, or social media content, mastering screen recording enhances your productivity and communication. Start practicing today, and you’ll quickly see the benefits of creating clear, professional, and shareable videos right from your iPhone.