Taking screenshots on a Chromebook is an essential skill for students, professionals, gamers, and everyday users. Whether you want to capture an entire screen, a specific area, or a single window, Chromebooks offer multiple built-in methods that are fast, reliable, and easy to use. In this guide, you’ll learn everything you need to know about how to screenshot on Chromebook, including keyboard shortcuts, tablet mode tips, storage, editing, and advanced techniques.
Why Screenshots Are Important on Chromebook
Screenshots aren’t just pictures—they’re a tool for efficiency and productivity.
- Students can save lecture slides, diagrams, or assignments for offline reference.
- Professionals can capture invoices, reports, or bug screenshots.
- Gamers can preserve memorable moments or share achievements.
- Casual users can save recipes, instructions, or tickets.
Knowing how to screenshot on a Chromebook ensures you can capture what you need quickly and accurately, without downloading extra software.
1. Full-Screen Screenshot
Capturing the entire screen is the most common method:
Steps:
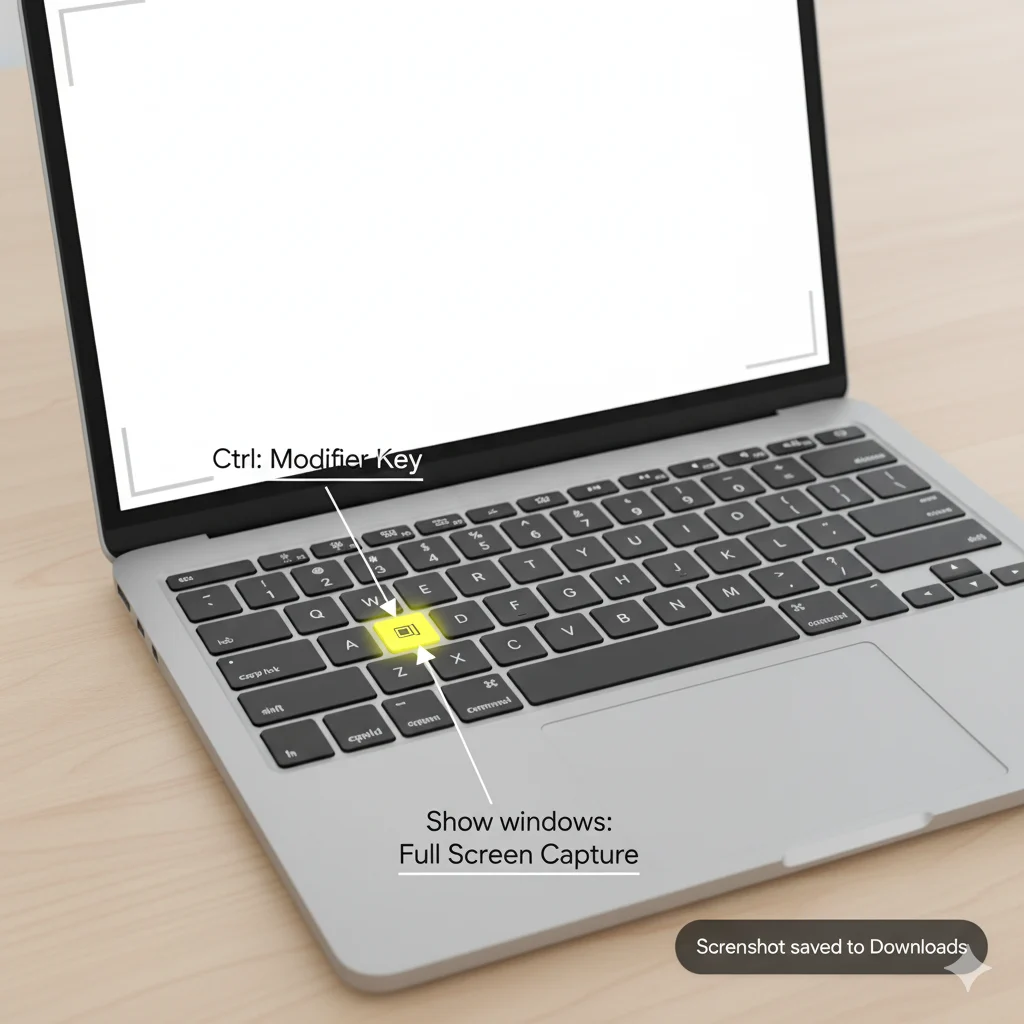
- Press Ctrl + Show Windows (Show Windows key = rectangle with two lines).
- Your screen will flash briefly to indicate the screenshot is taken.
- The screenshot is automatically saved to the Downloads folder.
Pro Tips:
- Works for full webpages, apps, and desktop captures.
- If you want to copy instead of save, use the clipboard option in the preview.
2. Partial Screen Screenshot
Capture only the section you need:
Steps:
- Press Shift + Ctrl + Show Windows.
- The cursor changes into a crosshair.
- Click and drag to select the area you want.
- Release to capture the screenshot.
Best Use Cases:
- Capturing a paragraph, diagram, or small section of an app.
- Annotating specific content for presentations or projects.
3. Active Window Screenshot
Capture just one window instead of everything on the screen:
Steps:
- Press Alt + Show Windows.
- Click the window you want to capture.
Why Use It:
- Focuses attention on a single app or tab.
- Ideal for screenshots for tutorials or reports.
4. Tablet Mode Screenshot
For touchscreen or convertible Chromebooks:
Steps:
- Press Power + Volume Down simultaneously.
- The full screen is captured and saved in the Downloads folder.
Tip: Works similarly to Android devices, perfect for tablet mode or 2-in-1 Chromebooks.
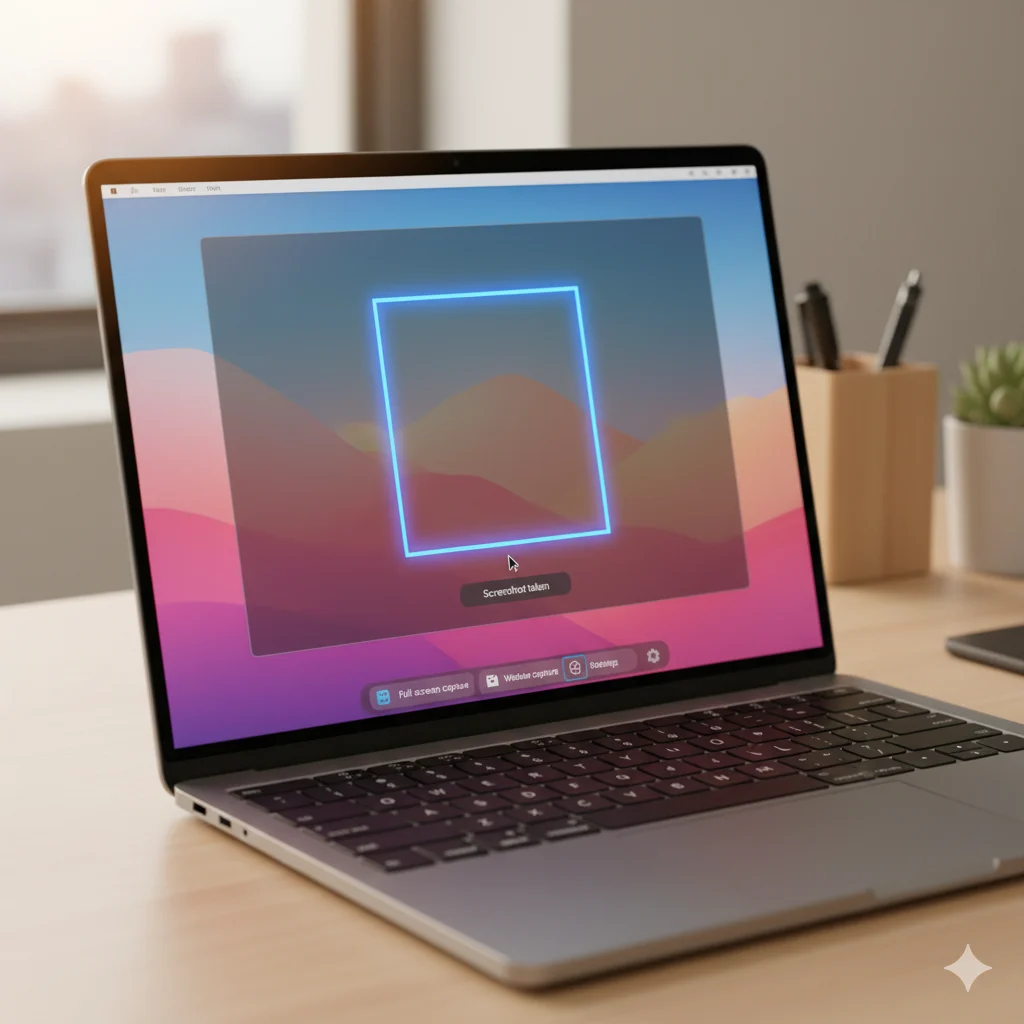
5. Using the Screen Capture Tool
Chromebooks have a built-in Screen Capture tool for more control:
Steps:

- Click the time in the bottom-right corner.
- Open Quick Settings and select Screen Capture.
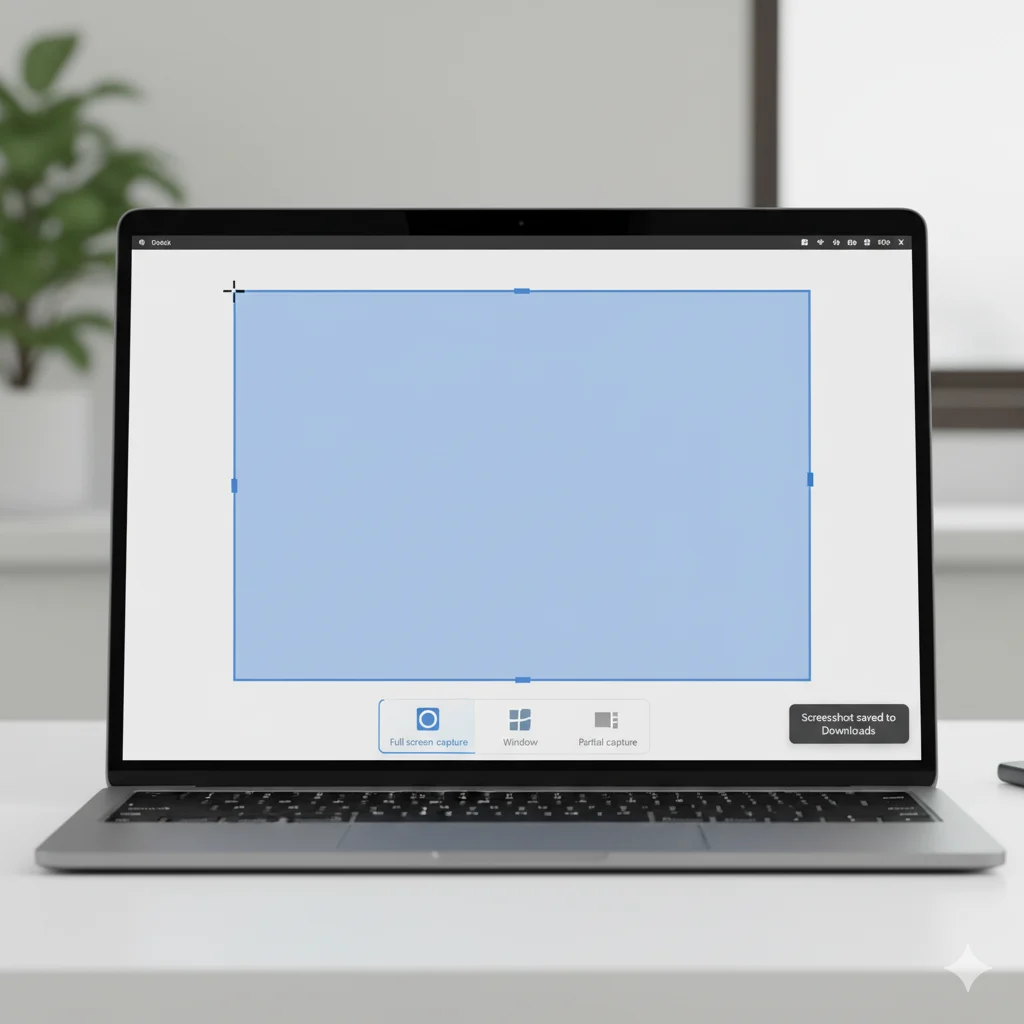
- Choose one of these options:
- Full Screen
- Partial Screen
- Window Capture
- Click Capture to take your screenshot.
Extra Tip:
- Use the timer option to capture pop-ups or menus.
- Preview allows you to annotate or copy to clipboard.
Where Screenshots Are Saved
All Chromebook screenshots are automatically saved.
- Open the Files app.
- Navigate to the Downloads folder.
- Screenshots are named like Screenshot (date and time).png.
- Rename or move them to Google Drive for easy access.
Quick Tip: Screenshots can also appear as a small pop-up in the lower-right corner, allowing immediate editing or copying.
Editing and Annotating Screenshots
You don’t need extra apps to edit Chromebook screenshots.
Editing Steps:
- Open the screenshot from Files.
- Click the Edit (pen) icon.
- Crop, rotate, highlight, or annotate as needed.
Copying to Clipboard:
- Take a screenshot.
- Click Copy to Clipboard in the preview.
- Paste it directly into Google Docs, Gmail, or chat apps.
Tip: Annotating your screenshots can make them more informative for presentations, tutorials, or sharing with colleagues.
Keyboard Shortcuts at a Glance
| Screenshot Type | Shortcut Combination |
|---|---|
| Full Screen | Ctrl + Show Windows |
| Partial Screen | Shift + Ctrl + Show Windows |
| Active Window | Alt + Show Windows |
| Tablet Mode Full Screen | Power + Volume Down |
Pro Tip: Memorizing these shortcuts will save time and improve efficiency.
Common Mistakes to Avoid
Even experienced users can make errors. Avoid these:
- Wrong keys pressed: Double-check shortcuts to avoid copying instead of saving.
- Over-reliance on clipboard: Always ensure important screenshots are saved.
- Disorganized storage: Create folders in Downloads or Drive to prevent clutter.
- Ignoring tablet mode shortcuts: Convertible users must use Power + Volume Down.
FAQs About Screenshots on Chromebook
Q1: Can I take scrolling screenshots?
A: Chromebook doesn’t support scrolling screenshots natively. Third-party apps like Nimbus or Lightshot can help.
Q2: Where do Chromebook screenshots go?
A: By default, they are saved in the Downloads folder, with filenames including date and time.
Q3: Can I edit screenshots without extra software?
A: Yes, Chromebooks have built-in editing in the Files app and Screen Capture preview.
Q4: Which format is best for screenshots?
A: PNG is ideal for text/UI clarity, JPG is smaller for photos.
Q5: Can I take screenshots in tablet mode?
A: Yes, press Power + Volume Down to capture the full screen.
Advanced Tips for Maximum Efficiency
- Organize Your Screenshots: Use folders by project or date.
- Delayed Capture: Useful for menus or pop-ups.
- Annotate Immediately: Use built-in tools for faster workflows.
- Combine Methods: Keyboard shortcuts + Screen Capture tool for different scenarios.
Conclusion
Knowing how to screenshot on Chromebook is a simple but powerful skill that can save time, improve productivity, and make sharing information effortless. Whether you prefer keyboard shortcuts, the Screen Capture tool, or tablet mode, each method has its own advantages.